
Smart Thermostat Installation Guide for Beginners
Installing a smart thermostat is one of the easiest ways to make your home more energy-efficient and convenient. Modern smart thermostats allow you to control your heating and cooling system remotely, automate temperature schedules, and potentially reduce your monthly electricity bills.
If you’ve never installed one before, don’t worry. This beginner-friendly guide walks you through the installation process, explains the tools you’ll need, highlights common mistakes to avoid, and helps you decide when it’s best to call a professional.
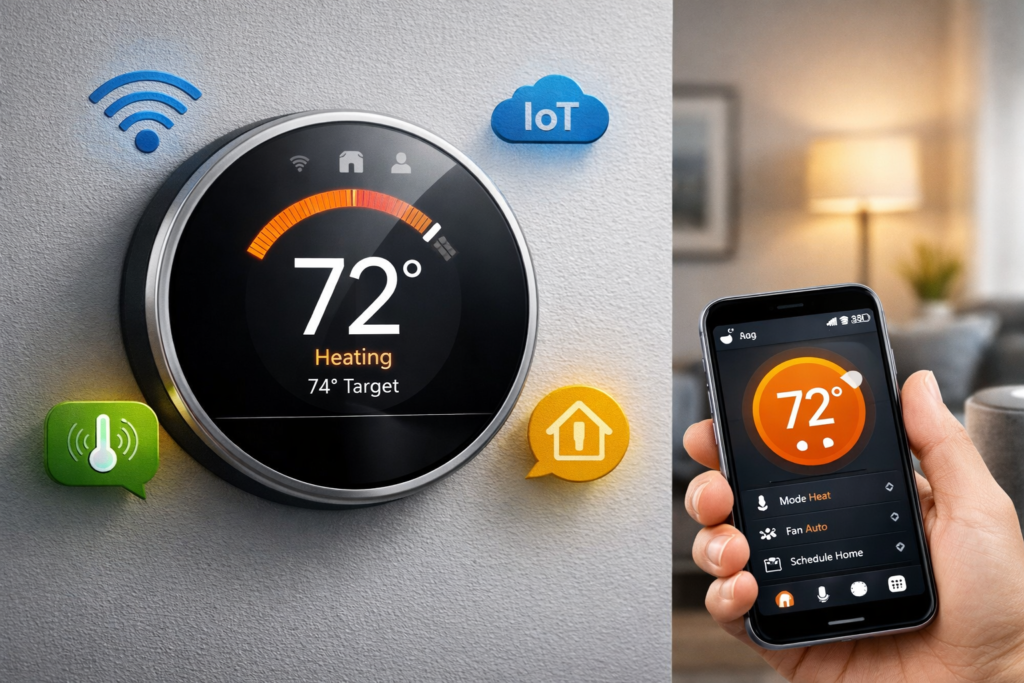
What Is a Smart Thermostat?
A smart thermostat is a Wi-Fi-enabled device that controls your home’s heating and cooling (HVAC) system. Unlike traditional thermostats, it can:
- Learn your daily schedule
- Adjust temperatures automatically
- Connect to your smartphone
- Work with voice assistants
- Monitor energy usage
- Improve overall HVAC efficiency
Many homeowners choose smart thermostats to increase comfort while lowering energy costs.
Before You Begin
Before purchasing or installing a smart thermostat, make sure your HVAC system is compatible.
Most smart thermostats support:
- Central air conditioning
- Forced-air heating
- Heat pumps
- Multi-stage HVAC systems
- Electric furnaces
However, compatibility varies by model. Always check the manufacturer’s compatibility guide before installation.
Tools You’ll Need
Gather the following tools before starting:
- Phillips-head screwdriver
- Flat-head screwdriver
- Drill (if new mounting holes are needed)
- Level
- Smartphone or tablet
- Pencil for marking holes
- Masking tape or wire labels
- Camera (to photograph existing wiring)
Having everything ready makes installation quicker and more organized.
Step 1: Turn Off Power to the HVAC System
Safety comes first.
Before removing the existing thermostat:
- Switch off your HVAC system.
- Turn off the appropriate circuit breaker.
- Confirm that the thermostat display is off.
Never work on thermostat wiring while power is connected.
Step 2: Remove the Existing Thermostat
Carefully remove the faceplate of your current thermostat.
You’ll typically see several wires connected to labeled terminals such as:
- R
- Rc
- Rh
- Y
- W
- G
- C
Avoid disconnecting any wires until you’ve documented their positions.
Step 3: Take a Picture of the Wiring
This is one of the most important steps.
Before removing any wires:
- Take a clear photo.
- Ensure all terminal labels are visible.
- Capture wire colors and positions.
The photo will serve as your reference during installation.
Step 4: Label the Wires
Even if the wire colors seem obvious, use the labels provided with your smart thermostat.
Label each wire according to its terminal, not its color.
Example:
| Terminal | Typical Function |
|---|---|
| R | Power |
| Y | Cooling |
| W | Heating |
| G | Fan |
| C | Common wire |
Proper labeling helps prevent wiring errors.
Step 5: Remove the Old Mounting Plate
Once the wires are labeled:
- Unscrew the mounting plate.
- Carefully pull it away from the wall.
- Keep the wires from slipping into the wall by wrapping them around a pencil or using masking tape.
Step 6: Install the New Mounting Plate
Position the new mounting plate on the wall.
Use a level to ensure it’s straight.
If necessary:
- Mark new screw locations.
- Drill pilot holes.
- Install wall anchors.
- Secure the mounting plate firmly.
Step 7: Connect the Wires
Insert each wire into its matching terminal according to the installation guide provided with your thermostat.
Double-check every connection before proceeding.
Never force wires into terminals.
If your HVAC system includes a C-wire (common wire), connect it as instructed. Many smart thermostats require this wire for continuous power, while some include adapters for systems without one.
Step 8: Attach the Smart Thermostat
Once all wires are connected:
- Align the thermostat with the mounting plate.
- Gently snap or screw it into place.
- Ensure it sits securely and evenly against the wall.
Step 9: Restore Power
Turn the circuit breaker back on.
The thermostat should power up within a few moments.
If the screen remains blank:
- Check wire connections.
- Verify power at the breaker.
- Confirm compatibility with your HVAC system.
Step 10: Connect to Wi-Fi
Follow the on-screen instructions to connect your thermostat to your home’s Wi-Fi network.
You’ll typically need:
- Wi-Fi network name (SSID)
- Wi-Fi password
A stable internet connection enables remote control and software updates.
Step 11: Install the Mobile App
Download the manufacturer’s companion app on your smartphone.
The app allows you to:
- Change temperatures remotely
- Create schedules
- Monitor energy usage
- Receive maintenance alerts
- Enable smart home integrations
Sign in or create an account to complete the setup.
Step 12: Configure Your Preferences
Customize your thermostat by setting:
- Home temperature
- Away temperature
- Sleep schedule
- Vacation mode
- Energy-saving preferences
Some models also learn your routine automatically over time.
Common Installation Mistakes to Avoid
Avoid these beginner errors:
- Forgetting to turn off power
- Not photographing existing wiring
- Labeling wires by color instead of terminal
- Skipping the compatibility check
- Loose wire connections
- Ignoring manufacturer instructions
- Not updating the thermostat firmware
Taking your time helps ensure a successful installation.
Troubleshooting Tips
If your thermostat doesn’t work after installation:
The screen won’t turn on
- Verify the circuit breaker is on.
- Check wire connections.
- Confirm the thermostat is compatible with your HVAC system.
HVAC won’t start
- Ensure all wires are fully seated.
- Restart the thermostat.
- Review the wiring photo for accuracy.
Wi-Fi won’t connect
- Move closer to the router.
- Confirm you’re using the correct network password.
- Restart the router and thermostat.
Heating and cooling are reversed
This often indicates incorrect wiring. Double-check terminal connections before using the system.
When Should You Hire a Professional?
DIY installation is suitable for many homeowners, but professional installation is recommended if:
- Your HVAC wiring is unclear.
- You have a multi-zone system.
- Your home uses older HVAC equipment.
- The thermostat requires extensive rewiring.
- You’re uncomfortable working with electrical systems.
Professional installation ensures safe and proper operation.
Benefits of Installing a Smart Thermostat
After installation, you can enjoy:
- Lower energy bills
- Remote temperature control
- Automatic scheduling
- Voice assistant compatibility
- Energy usage reports
- Improved indoor comfort
- Better HVAC efficiency
- Smart home integration
These features make smart thermostats a worthwhile investment for many households.
Maintenance Tips
Keep your smart thermostat performing at its best by:
- Cleaning dust from the device periodically
- Updating firmware when available
- Checking Wi-Fi connectivity
- Replacing HVAC filters regularly
- Reviewing energy reports
- Adjusting schedules seasonally
Routine maintenance helps improve accuracy and efficiency.
Conclusion
Installing a smart thermostat is a beginner-friendly home improvement project that can provide lasting benefits. With the right tools, careful preparation, and attention to wiring, most homeowners can complete the installation in under an hour.
Once installed, you’ll enjoy convenient remote control, automated temperature scheduling, and improved energy efficiency—making your home more comfortable while helping reduce utility costs.
Frequently Asked Questions (FAQs)
Can I install a smart thermostat without professional help?
Yes. Many smart thermostats are designed for DIY installation and include step-by-step instructions.
Do I need a C-wire?
Some smart thermostats require a C-wire for continuous power, while others include adapters for compatible systems without one.
How long does installation take?
For most homeowners, installation takes between 30 and 60 minutes.
Will installing a smart thermostat void my HVAC warranty?
Installing a compatible thermostat according to the manufacturer’s instructions typically does not affect your HVAC warranty, but it’s wise to review your system documentation.
Can I use a smart thermostat without Wi-Fi?
Yes. Basic temperature control usually works without Wi-Fi, but remote access, app control, and software updates require an internet connection.